Is your store leaking revenue?
Find out exactly where you're losing sales — takes 2 minutes.
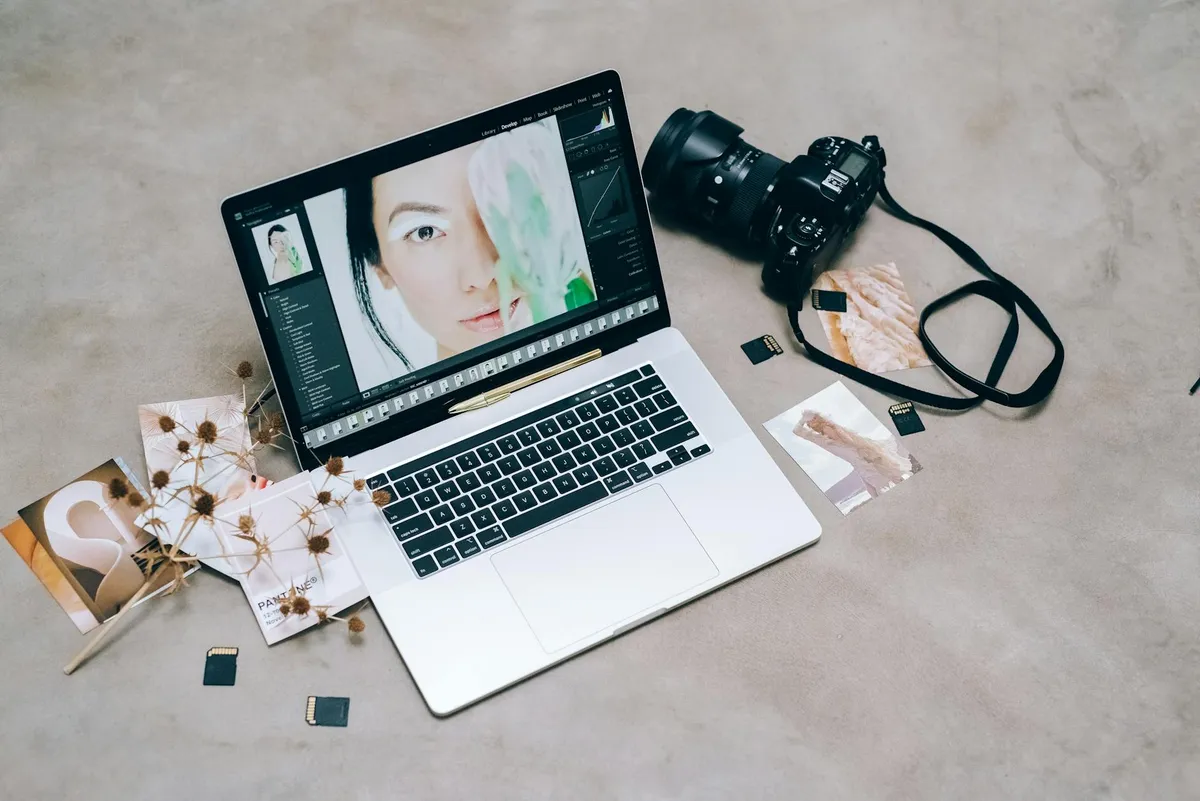
The brands outselling you are not using better cameras — they are using better setups
Bad photos kill sales silently.
You will never see "left because the image looked amateur" in your analytics. But it happens on every product page where the photo fails to answer the one question a shopper has: what am I actually getting?
We audit Shopify stores in Malaysia every week at WebMedic. Weak product photography is the most common conversion killer we flag — more than slow load times, more than bad copy. And the fix is almost never "buy a better camera." It is learning a few principles that separate phone snapshots from photos that sell.
This post covers everything: what product photography actually means, what gear you need at every price point, how to light it, how to style it, and which product photography ideas move the conversion needle most.
What Is Product Photography and Why Does It Drive Ecommerce Sales?
First impressions are visual.
Product photography is the practice of capturing commercial goods using controlled lighting, composition, and post-processing to communicate quality, scale, and detail for online listings. According to Etsy marketplace data (2023), listings with professional-quality images receive up to 94% more views. At WebMedic, product image quality is the single highest-leverage conversion factor we identify across 80+ Shopify store audits in Malaysia and Singapore.
Product photography is not "taking pictures of stuff." It is a system — lighting, angles, backgrounds, and post-production — designed to replace the physical experience a customer loses when buying online.
Three numbers explain why this matters:
- 75% of online shoppers say product photos are the most important factor in their purchase decision (Weebly/Square, 2024)
- 22% of ecommerce returns happen because the product looked different in person (Shopify, 2025)
- Listings with multiple quality images convert 2-3x better than single-image listings (eBay internal data)
When someone lands on your product page, they make a judgement in under two seconds. That judgement is based almost entirely on the hero image. Everything else — your product descriptions, reviews, trust badges — only gets a chance if the photo passes the initial test.
And the good news: you do not need RM 10,000 in gear to pass it.
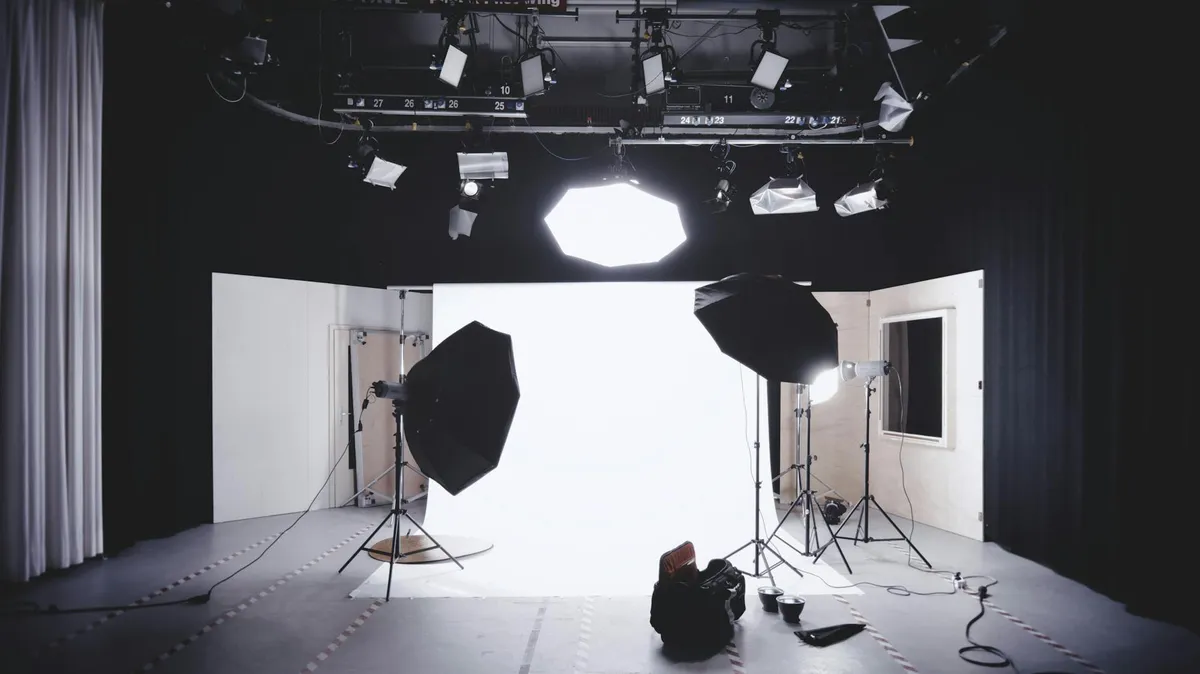
What Gear Do You Actually Need for Product Photography?
Less than you think.
A smartphone made after 2022, a RM 50-80 softbox light, and a white foam board background are enough to produce product photos that compete with studio shots. Shopify's own product photography guide confirms that lighting and composition matter more than camera resolution for ecommerce images. WebMedic's client data shows no measurable conversion difference between DSLR and smartphone photos when lighting is properly controlled.
The gear question is where most store owners stall. They assume professional images require professional equipment. They are wrong.
Here is what you actually need at each budget level:
| Budget Tier | Camera | Lighting | Background | Extras | Total Cost |
|---|---|---|---|---|---|
| Starter (RM 0-100) | Smartphone (2022+) | Window light + white foam board reflector | White poster board (RM 5) | Tape, tissue paper | RM 10-50 |
| Intermediate (RM 100-500) | Smartphone | 1-2 softbox lights (RM 50-80 each) | Sweep paper roll (RM 40) | Tripod with phone mount (RM 30-60) | RM 130-260 |
| Advanced (RM 500-2,000) | Mirrorless/DSLR (used) | 2 softbox lights + reflector | Collapsible backdrop (RM 80) | Light tent, C-stand, remote trigger | RM 800-2,000 |
| Studio (RM 2,000+) | Full-frame DSLR/mirrorless | Strobe kit with modifiers | Motorised turntable + backdrops | Tethering software, colour checker | RM 3,000+ |
Sources: Lazada/Shopee gear pricing (2026), WebMedic procurement data
The jump from Starter to Intermediate is where the biggest quality gain happens. A RM 80 softbox changes everything. After that, you are chasing marginal improvements.
The one piece of gear that matters most
A tripod. Not the camera. Not the lights.
Consistency is what makes a product catalogue look professional. When your camera is handheld, every image is slightly different — angle, distance, framing. A tripod (even a RM 30 phone tripod from Shopee) locks your framing so every product image in your store matches.
How Should You Light Products Without a Studio?
Lighting makes or breaks the image.
Diffused front-and-side lighting at a 45-degree angle produces the cleanest product images for ecommerce. According to Pixc's 2024 ecommerce photography study, products lit with diffused natural or softbox light convert 32% better than those shot under direct flash or overhead fluorescents. The key is eliminating harsh shadows while preserving enough dimension to show texture and shape.
There are only two types of light that work for product photography: diffused natural light and softbox artificial light. Everything else — ring lights, overhead ceiling lights, on-camera flash — creates problems you will spend hours trying to fix in post-production.
Natural light setup (free)
- Place a table next to a large window — north-facing is ideal because the light is consistent throughout the day
- Hang a white bedsheet or shower curtain over the window if the sun is direct (this diffuses the light)
- Place a white foam board on the opposite side of the product to bounce light back and fill shadows
- Shoot between 10am-2pm for the strongest, most consistent light
Artificial light setup (RM 100-200)
- Place two softbox lights at 45-degree angles on either side of the product, slightly above
- Aim both lights toward the product, not the background
- Set both to the same brightness (or make the key light 1 stop brighter for dimension)
- Use a white reflector underneath or behind for fill
Lighting mistakes we see constantly
- Mixed colour temperatures. One daylight bulb (5500K) and one warm bulb (3000K) create a colour cast that looks wrong even if you cannot name what is off. All bulbs must match.
- Direct overhead lighting. Creates deep shadows under the product. Looks like a mugshot.
- No fill light. A single light source creates one bright side and one dark side. You need a reflector at minimum.
What Are the Best Product Photography Ideas for Different Product Types?
The best setup depends on what you sell.
White background flat lays work for 80% of ecommerce products, but lifestyle context shots increase conversion rates by 20-30% when used as secondary images. According to BigCommerce's 2025 conversion data, stores that combine clean studio shots with 1-2 lifestyle images per product see measurably higher add-to-cart rates. WebMedic recommends a minimum of 5 images per product: hero, alternate angle, detail/texture, scale reference, and lifestyle.
Here are product photography ideas organised by product category:
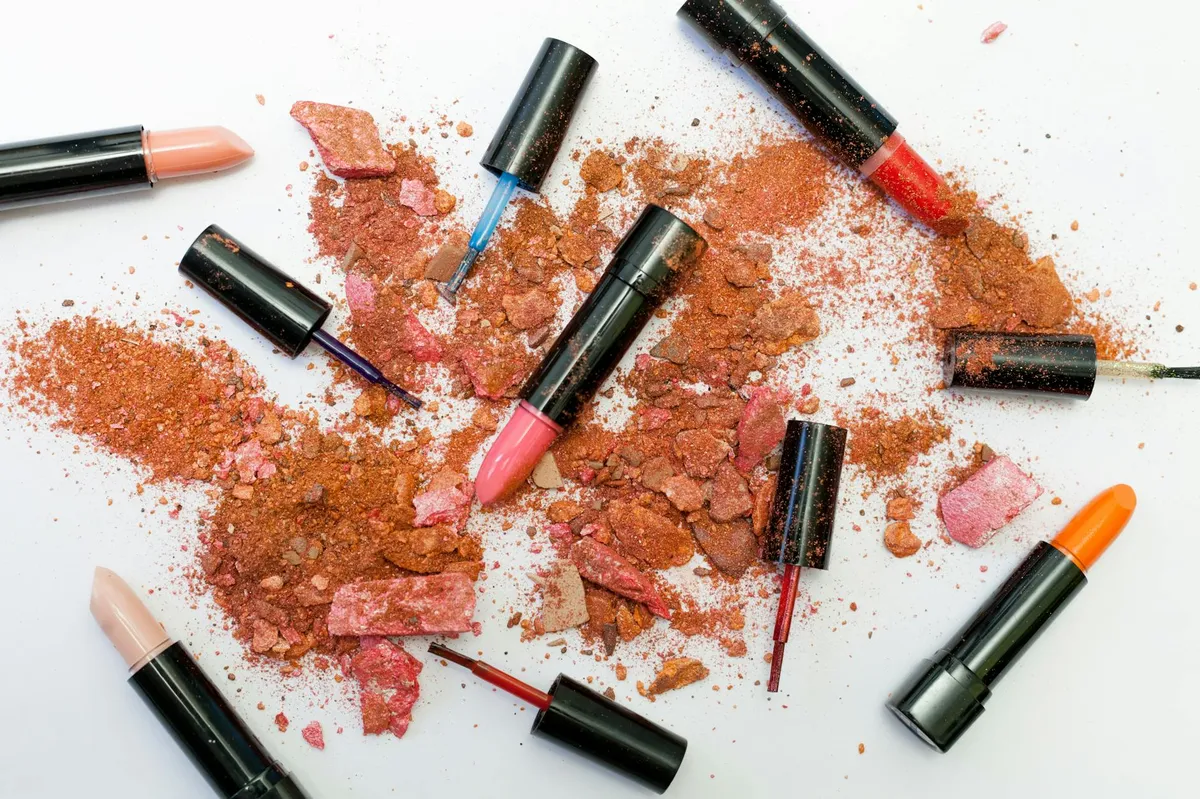
Beauty and skincare
- Hero shot: Product on clean white or light marble surface, front-facing label
- Texture shot: Cream swatched on skin or glass, showing consistency
- Ingredients shot: Key ingredients arranged around the product (real botanicals, not stock)
- Scale shot: Product held in hand to show actual size
- Lifestyle: Product on a bathroom shelf or vanity with complementary items
Fashion and apparel
- Flat lay for casual items and accessories
- Ghost mannequin for structured garments (see our clothing photography guide for the full breakdown)
- On-model for fitted and premium items
- Detail shots: Fabric texture, stitching, hardware close-ups
- Outfit context: Styled with complementary pieces
Food and beverage
- 45-degree angle is the standard food photography angle — mimics how we look at food on a table
- Overhead/flat lay for arranged platters, multiple items
- Steam and motion: Pour shots, steam rising, ingredients falling (requires faster shutter speed)
- Ingredient spread: Raw ingredients surrounding the finished product
Electronics and gadgets
- Clean white background with product at slight angle to show depth
- In-use context: Product being used by hands (no face needed)
- Scale comparison: Next to a common object (coin, hand, pen)
- Port and detail close-ups: Every connector, button, and feature
Home and lifestyle
- Room context: Product styled in a real room setting
- Multiple angles: Front, side, top, and any unique features
- Grouped: Product with complementary items from the same collection
Does this sound like your store? Find out where you're leaking revenue — take the free Revenue Score. 3 minutes. Free. No pitch.
How Many Product Images Do You Need Per Listing?
More than you have right now.
The optimal number of product images for ecommerce is 5-8 per listing. Shopify's internal data (2025) shows that products with 5+ images have a 25% higher conversion rate than those with 1-2 images. Beyond 8 images, the conversion benefit plateaus for most product categories. WebMedic's client data across Malaysian Shopify stores confirms 5-7 as the sweet spot.
Here is the minimum image set we recommend for every product:
- Hero image — clean white background, product front-facing, filling 80-85% of the frame
- Alternate angle — 45-degree or side view showing depth
- Detail/texture — close-up of materials, stitching, finish, or key feature
- Scale reference — product in hand, next to a ruler, or next to a familiar object
- Lifestyle/context — product in use or in its natural environment
For higher-AOV products (above RM 200), add:
- Packaging — unboxing experience, gift presentation
- Comparison — size options side by side, colour variants
- 360 or video — spin view or short clip showing the product in motion
How Do You Edit Product Photos Without Photoshop?
Editing is not optional — but it does not need to be complicated.
Basic product photo editing — background removal, white balance correction, and exposure adjustment — takes 2-3 minutes per image using free tools like Canva, remove.bg, and Snapseed. According to Pixc (2024), consistently edited product photos with clean white backgrounds improve perceived store trust by 35-40%. Shopify's own image guidelines recommend a pure white (#FFFFFF) background for hero images.
You do not need Adobe Photoshop or Lightroom. Here are the free and low-cost tools that handle 90% of product photo editing:
| Task | Free Tool | Paid Tool | Time Per Image |
|---|---|---|---|
| Background removal | remove.bg | Photoshop (RM 90/mo) | 10 seconds (AI) vs 5 minutes (manual) |
| White balance + exposure | Snapseed (mobile) | Lightroom (RM 45/mo) | 1-2 minutes |
| Batch resize and format | Squoosh.app | Photoshop Actions | 30 seconds |
| Retouching (dust, scratches) | GIMP | Photoshop | 2-5 minutes |
| Background + shadow composite | Canva Pro (RM 50/mo) | Photoshop | 3-5 minutes |
| Colour consistency | Snapseed | Lightroom Presets | 1 minute |
Sources: Tool pricing as of 2026
The editing workflow that saves hours
- Shoot in batch. Do not edit between shots. Shoot all products for the day first.
- Cull. Delete obvious rejects. Select 5-8 images per product.
- White balance first. Use the grey point or white point eyedropper on a white area. Do this once and apply to all images from the same session.
- Exposure and contrast. Bring exposure up until the background is clean white. Add slight contrast to make the product pop.
- Background removal (if needed). Use remove.bg for speed, manual masking for complex edges.
- Crop and resize. Shopify recommends 2048x2048 pixels, square format. Consistent sizing across all products.
- Export as WebP. Smaller files, faster loading, no visible quality loss. Shopify serves WebP automatically.
Common editing mistakes
- Over-saturating colours. The product looks vivid on screen, then the customer receives something duller. This causes returns.
- Inconsistent white balance across products. One product looks warm, the next looks blue. The catalogue feels disjointed.
- Forgetting to add a shadow. A product floating on pure white with no shadow looks like it was cut out (because it was). Add a subtle drop shadow to ground it.
What Product Photography Mistakes Kill Conversion Rates?
Most stores make the same five mistakes.
The top conversion-killing product photography mistakes are inconsistent backgrounds, poor lighting that hides texture, missing scale references, too few images per listing, and colour inaccuracy. Baymard Institute's 2024 UX research found that 56% of users immediately interact with product images on arrival, and 42% attempt to zoom. If the image fails either test — visual appeal or detail on zoom — the likelihood of purchase drops sharply.
Mistake 1: Inconsistent image style across the catalogue
Your collection page is a grid. If each product image has a different background colour, angle, or lighting style, the grid looks chaotic. Shoppers unconsciously associate visual consistency with brand quality.
The fix: Create a shot list template. Same background, same angle, same lighting position, same crop for every hero image.
Mistake 2: Shooting on a cluttered background
Kitchen counters, bedsheets, carpets. We see this constantly in Malaysian Shopify stores. The product competes for attention with everything around it.
The fix: White or light grey seamless background for hero images. Save the lifestyle backgrounds for secondary images.
Mistake 3: No sense of scale
Is it 5cm or 50cm? If the customer cannot tell how big the product is from the image, they hesitate. Hesitation kills conversion.
The fix: Include at least one image with a scale reference — a hand, a coin, or the product in its intended environment.
Mistake 4: Only one image per product
One image forces the customer to guess what the back looks like, what the texture feels like, how big it is. Guessing creates uncertainty. Uncertainty kills conversion.
The fix: Minimum 5 images per product. Non-negotiable.
Mistake 5: Colour that does not match reality
This is the number one driver of returns in fashion and beauty ecommerce. The customer sees a deep navy on screen, receives something closer to black, and sends it back.
The fix: Use a colour checker card (RM 30 on Shopee) in your first shot of each session. Set white balance from it. Then delete the reference shot.
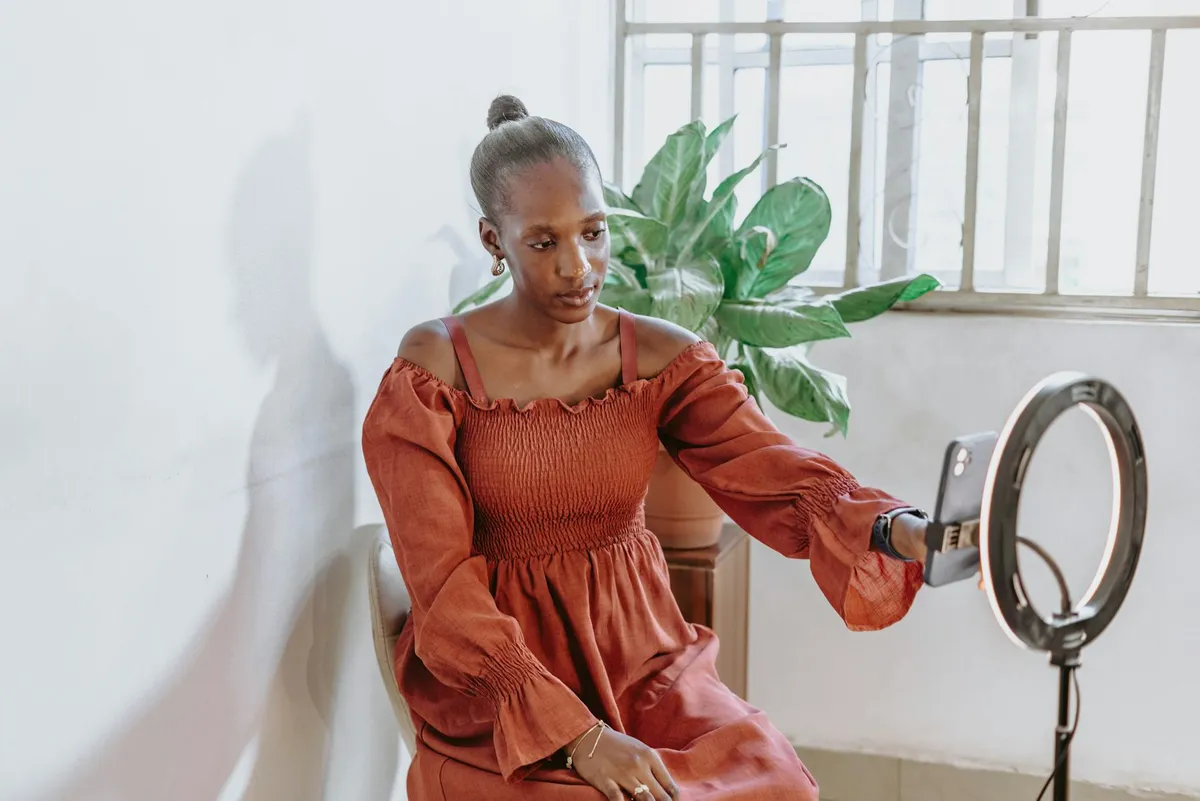
How Do Brands Shoot Product Photography With Just a Smartphone?
Your phone is good enough.
Smartphones made after 2022 — including the iPhone 14, Samsung Galaxy S23, and Pixel 7 — produce images with sufficient resolution, dynamic range, and colour accuracy for ecommerce product photography. Google's 2024 camera benchmark study found that smartphone cameras in controlled lighting conditions produce images indistinguishable from entry-level DSLRs when viewed at ecommerce display sizes (1200-2048px). The bottleneck is always lighting and stability, not the sensor.
Smartphone shooting checklist
- Clean the lens. Fingerprints cause haze. Wipe it before every session.
- Lock exposure and focus. Tap and hold on the product. Most phones let you lock the exposure so it does not shift between shots.
- Use the main lens only. Not ultrawide, not telephoto, not portrait mode. The main camera has the best sensor.
- Turn off flash. Always. No exceptions.
- Shoot in the highest resolution. Turn off any AI beautification or HDR processing — you want the raw capture.
- Use a timer or remote shutter. Even a 2-second timer prevents the shake from tapping the screen.
- Shoot in landscape for products wider than they are tall. Shoot in portrait for tall products. Crop to square in post.
iPhone vs Android for product photography
Both work. The differences are marginal for ecommerce purposes. iPhones tend to produce warmer tones with more contrast out of the box. Samsung and Pixel phones tend to produce sharper, cooler images. Neither is better — both need the same white balance correction in post.
The one advantage of Pixel phones: Google's computational photography handles mixed lighting slightly better, which helps if your lighting setup is not perfectly controlled.
Frequently Asked Questions
What are the best product photography ideas for small budgets?
The highest-impact low-budget product photography ideas are using natural window light with a white foam board background (under RM 10), shooting with a smartphone on a RM 30 tripod, and using free editing tools like remove.bg and Snapseed. WebMedic's client data shows no measurable conversion difference between RM 100 setups and RM 2,000 setups when lighting principles are followed correctly.
How many product photos should a Shopify store have per listing?
Shopify stores should have a minimum of 5 images per product listing: hero, alternate angle, detail close-up, scale reference, and lifestyle context. Shopify's 2025 internal data shows products with 5+ images convert 25% higher than those with 1-2 images. For products above RM 200, aim for 7-8 images including packaging and comparison shots.
Can you take professional product photos with a phone?
Yes. Any smartphone made after 2022 produces images with enough resolution and colour accuracy for ecommerce when lighting is properly controlled. Google's 2024 camera benchmark study found smartphone images indistinguishable from DSLR photos at ecommerce display sizes. The critical factors are diffused lighting, a stable tripod, and consistent white balance — not the camera itself.
What background colour converts best for product photography?
Pure white (#FFFFFF) backgrounds convert best for hero product images, according to Shopify, Amazon, and Etsy marketplace guidelines. White backgrounds reduce visual noise, ensure colour accuracy, and create consistency across product catalogues. Lifestyle backgrounds work as secondary images but should not replace the clean hero shot.
How much does product photography cost in Malaysia?
DIY product photography in Malaysia costs RM 10-260 for a full setup depending on gear level. Professional product photography services in Kuala Lumpur charge RM 15-50 per image for white background studio shots and RM 50-200+ per image for styled lifestyle shots. For stores with 50+ products, DIY is significantly more cost-effective long-term.
Keep Reading

Free Download
23 things your top competitor's store has that yours doesn't.
"I look at their store and it just looks better. We get the traffic — something's clearly off." Here are the 23 specific things they're doing.
Benchmarked across 20+ Shopify stores in beauty, fashion, food & beverage. Half the gaps close in under a week.
PDF in your inbox in 30 seconds. 1 email. No follow-up unless you ask.